
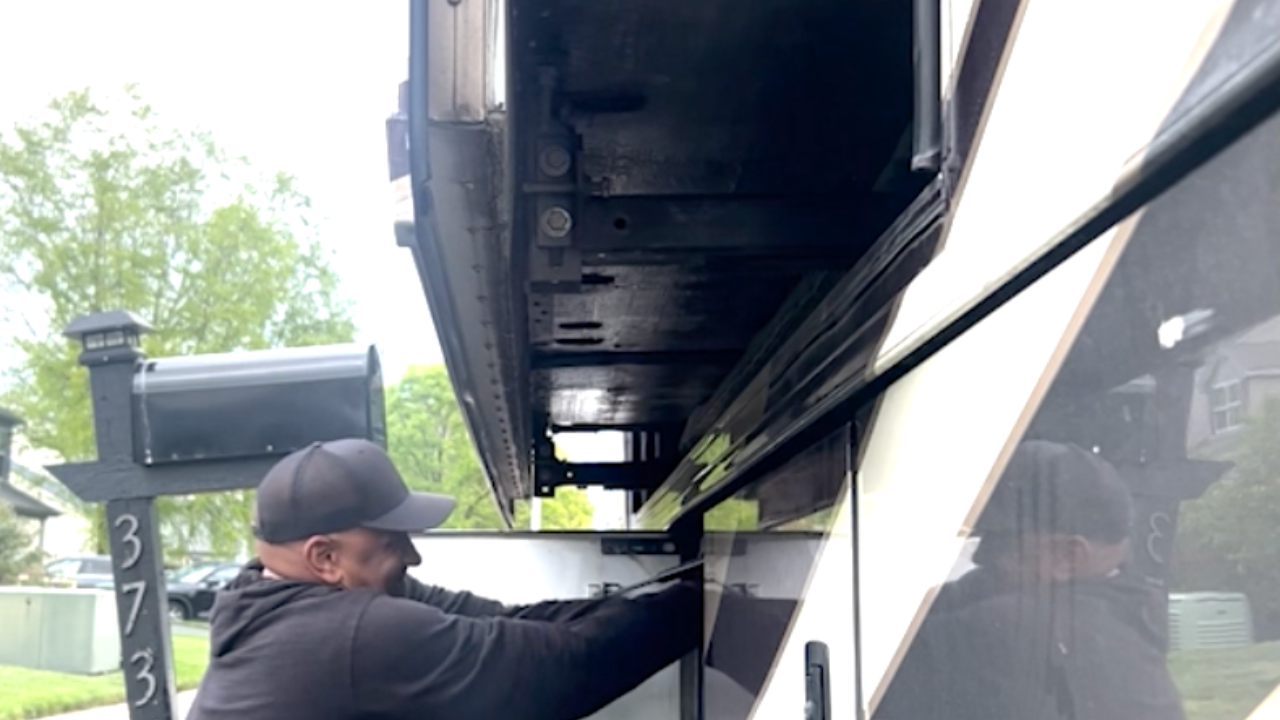
There’s nothing quite like the sinking feeling you get when your RV slide motor fails—especially when the slide is fully extended. If you’re dealing with a malfunctioning slide motor on your Jayco Super C or any RV with a Rack-and-Pinion system , don’t panic! You can manually retract that slide and get your rig back into drivable condition.
I recently had this issue so I’ll walk you through the process that I used step by step. While it takes some elbow grease, it’s doable, and you’ll save yourself from being stranded or an expensive call to a mobile mechanic.
Understanding the Problem: When Your RV Slide Motor Fails
RV slide motors can fail for various reasons—electrical issues, mechanical wear, or just bad timing. When this happens while your slide is deployed, you’re stuck with a few options:
- Wait for professional help (expensive and time-consuming)
- Call a mobile RV technician (if you can find one)
- Manually retract the slide yourself
What You’ll Need
Before we dive in, gather these simple tools:
- 1-inch open-end wrench (or any tool that fits over the square tube)
- A bit of patience (this is a workout!)
- About 20-30 minutes depending on the slide size
Step 1: Locate the Brake Release Levers
The first thing you need to do is find the brake release mechanism. On the Jayco Seneca its located right on the end of the slide motor. There are two levers tucked inside a protective jacket near the slide mechanism.

Here’s the good news: You don’t have to remove this jacket! You can feel the levers through the opening and operate them by touch.
How to Release the Brake:
- Reach inside the jacket opening
- Feel for the two levers (one on each side)
- Give them a quick, small movement to release the brake
- You’ll feel them engage and then release—it’s pretty intuitive once you find them
This step is crucial because the brake prevents the slide from moving when it’s not supposed to. Releasing it allows you to manually operate the mechanism.
Now comes the manual labor part. Find the square tube that’s part of the slide mechanism. This is what you’ll be turning to retract the slide.
Take your 1-inch open-end wrench (or whatever fits snugly over the square tube) and place it over the tube. Make sure it’s seated properly so it doesn’t slip while you’re cranking.
Step 3: Start Cranking (Counterclockwise to Retract)
Step 2: Position Your Wrench
Here’s where the real work begins. To retract (close) the slide, you’ll turn the wrench counterclockwise.
Important directions to remember:
- Counterclockwise = Open/Retract the slide (brings it in)
- Clockwise = Close/Extend the slide (pushes it out)

Be Prepared for a Workout
I won’t sugarcoat it—this is heavy work. The slide mechanism wasn’t designed for manual operation, so you’re essentially doing the motor’s job by hand and it is heavy!
Depending on how far your slide was extended, this could take anywhere from 15 to 45 minutes.
Step 4: Monitor Your Progress
As you crank, keep an eye on the slide’s movement. It should gradually retract back into the RV body. Make sure it’s tracking evenly and not binding on anything.
If you feel excessive resistance (beyond the normal heavy turning), stop and check:
- Is anything blocking the slide’s path?
- Are there obstructions inside or outside the RV?
- Is the brake fully released?
Step 5: Secure Everything
Once the slide is fully retracted and flush with your RV’s body, you’re ready to hit the road! Your RV is now in drivable condition, even though the motor still needs replacement.
Before you drive off:
- Double-check that the slide is completely secured
- Make sure nothing is hanging out or loose
- Test your turn signals and brake lights (sometimes slides can affect wiring)
Remember: This is a temporary solution to get you mobile again. Don’t put off that motor replacement indefinitely. But in a pinch? You’ve now got the knowledge to handle it yourself.