
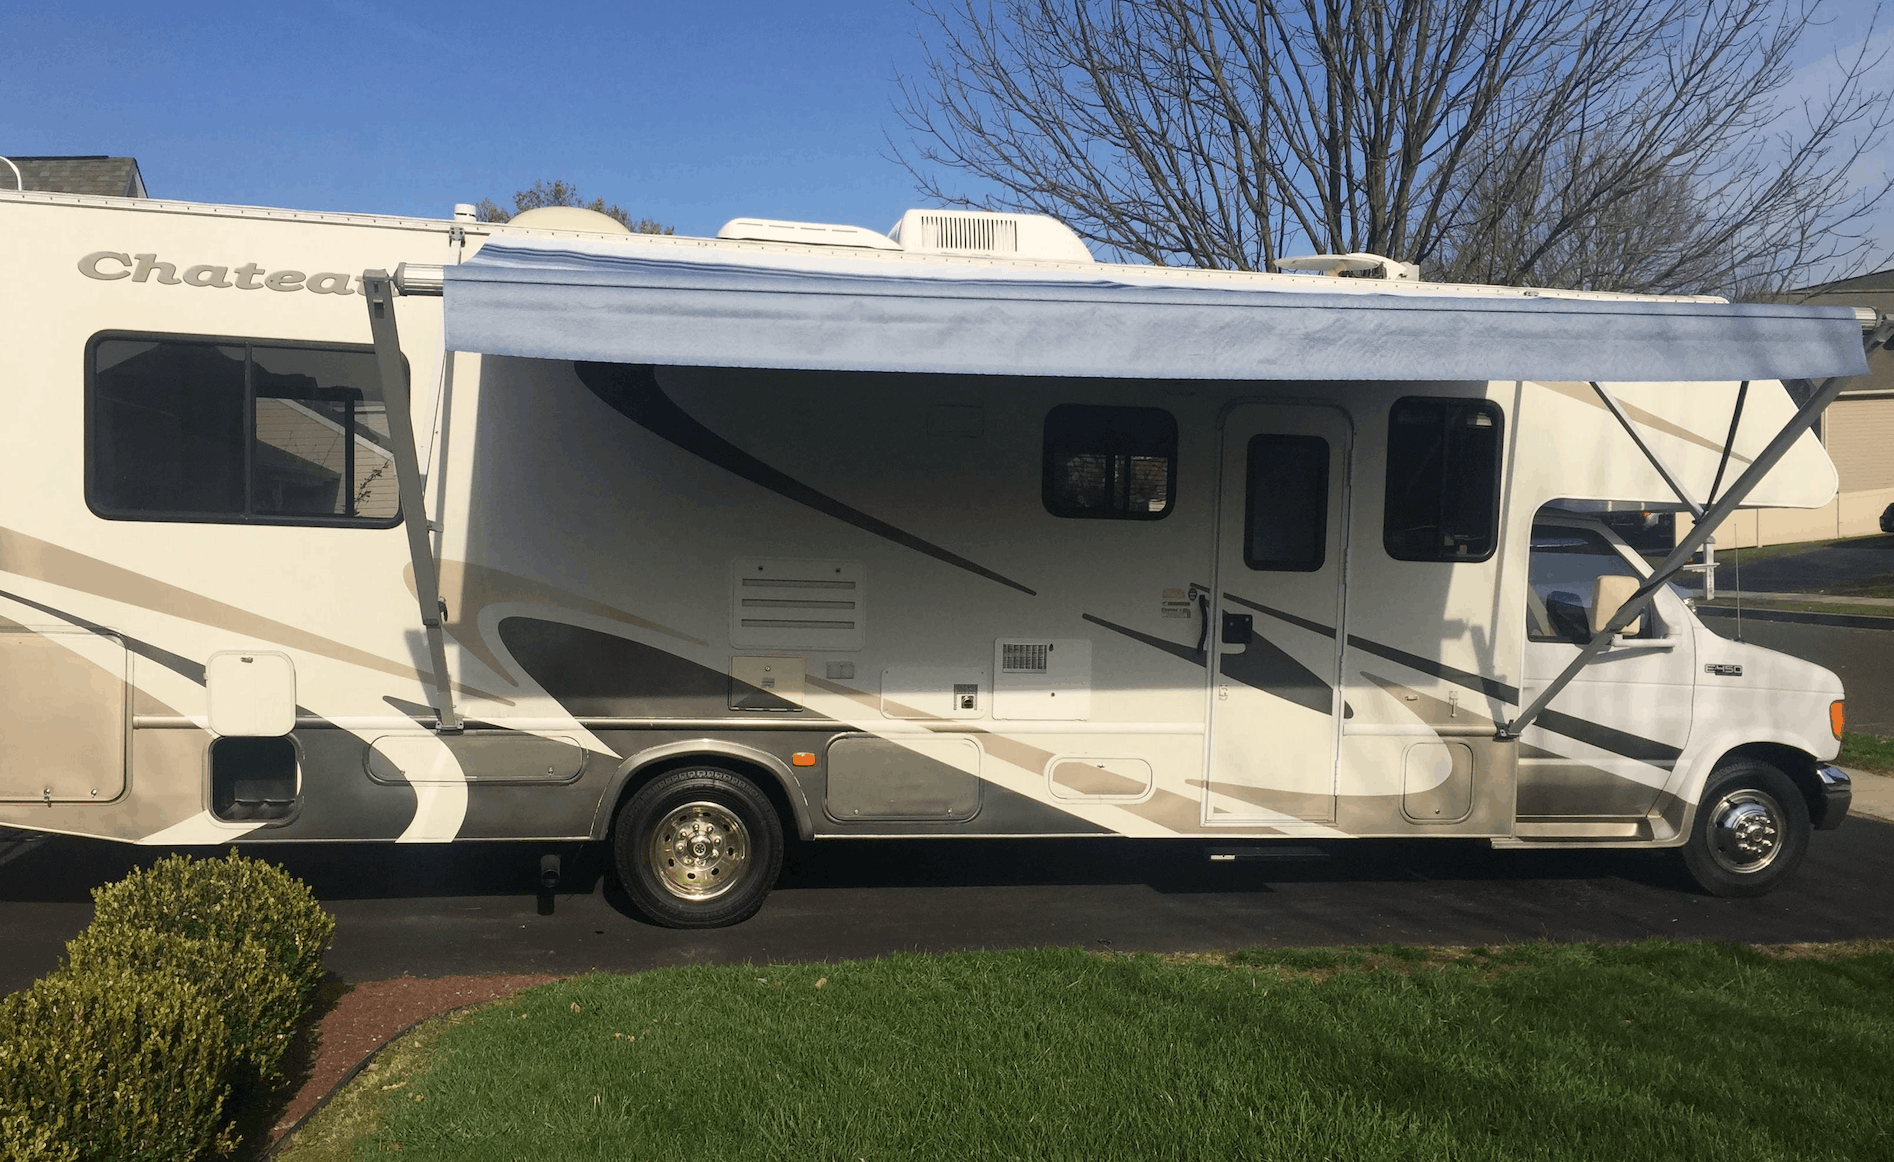
RV awnings are great to have—especially on hot sunny days—to create some shade and shelter from other weather elements like rain (and even snow in some cases). But unfortunately, they aren’t impervious to damage. Sometimes the arms can bend from strong wind gusts, and the fabric can even get ripped.
And that’s exactly what happened to mine, which caused me to have to replace the awning fabric. In this how-to guide, I’ll walk you through a complete step-by-step RV awning fabric replacement on a Class C motorhome with electric awning arms, using the exact process I followed.
This DIY RV repair can save you hundreds of dollars, and as an RV owner it’s always great to gain the knowledge and save money—especially if you travel full-time or manage a rental RV business.
What You’ll Learn in This Guide
- How to safely remove electric awning arms from an RV (even if you’re working solo)
- How to slide the old awning fabric off the roller tube and RV channel
- How to prep and thread new awning fabric into place without tearing it
- How to reattach arms, adjust mounting holes if needed, and test the awning
Before You Start: Safety Notes
Replacing RV awning fabric is totally doable, but the roller tube and arms can be under tension depending on your setup. Go slow, keep the tube supported, and use zip ties and straps to control movement. It’s always better to have a partner to assist with everything—but you can do it solo with the right setup (I did most of mine solo).
Tools & Supplies I Used
- Replacement RV awning fabric
- Straps (to hold the awning roller tube in place and to help raise it back up)
- Zip ties (to keep the gas strut from extending the arms)
- 10mm socket (to remove lag bolts)
- Rivets (if your arms use rivets from the factory)
- Step ladder
- Tape (to tape the end flap to the fabric so it doesn’t snag)
Step-by-Step: How to Replace RV Awning Fabric
Step 1: Buy the Correct Replacement Fabric
To get started, I first purchased a replacement fabric that I was able to find on Amazon.
Make sure you match:
- Awning length
- Fabric type
- Color/style
Step 2: Secure the Roller Tube (Especially If You’re Solo)
It’s always better to have a partner to assist with everything, but since I was solo for this install, I used some straps to hold the awning roller tube in place while I detached the arms from the RV.
This step matters because it keeps things controlled while you remove hardware.

Step 3: Detach the Electric Awning Arms From the RV
Using a 10mm socket, I removed the two lag bolts from the mounting holes in the RV frame.
Once the arms were detached from the frame of the RV:
- I placed zip ties around the arms to keep the gas strut from extending the arms when I moved them away from the RV.
- Once that was complete, I carefully lowered them down and leaned them against the RV body.
Step 4: Detach the Arms From the Roller Tube
Next I detached the arms from the roller tube. There are 4 rivets that need to be drilled out of the arm attachment holes to detach the roller tube from the arm—but the renter that tried repairing the damaged arms used screws, so in this case I just removed the screws.
Once they were out, I then carefully lowered the tube down.
Tip: Support the tube so it doesn’t drop or twist.
Step 5: Remove the Old Awning Fabric
With the tube down, I then pulled the fabric off of it by sliding the attached spline all the way across the tube channel—and then did the same thing from the channel on the RV exterior.
This is basically the “slide it out like a curtain track” step:
- Slide spline out of the roller tube channel
- Slide spline out of the RV exterior channel

Step 6: Prepare the New Fabric (Don’t Skip This)
Next I prepared the fabric by:
- Unfolding it
- Spreading it out
- Threading it into the top and bottom fabric hems
Take a minute here to keep everything straight and untwisted—this makes the install way easier.

Step 7: Feed the Fabric Into the RV’s Top Channel
Once I had the fabric ready, I lifted it into position and started feeding it through the top channel, taking time to pull it across in sections so the hems didn’t get ripped going through the channel.
Tip: Go slow and work in sections—this is how you avoid tearing the hems.

Step 8: Feed the Fabric Into the Roller Tube Channel
Next I began to feed the fabric through the tube channel. I used a step ladder to keep the tube off the ground and level while feeding it through the tube channel.

Step 9: Reattach the Electric Arms to the Roller Tube
Once the fabric was completely attached to the tube, I then lined up the electric arms and attached them to the tube.
Step 10: Raise Everything Back Into Position & Re-Mount to the RV
After the electric arms were attached to the tube, I then used straps and my ladder to raise the tube and arms back into position so that I could drill the arms back into the RV mounting holes.
Make sure everything lines up clean and sits square before tightening down.
Step 11: Test the Awning
With everything back in position and tightened down, I gave the awning a quick test.
I opened and closed it slowly and watched for:
- Fabric tracking straight
- No bunching or rubbing
- Arms moving evenly
Common Problems (And How to Avoid Them)
- Fabric keeps getting stuck in the channel: Tape the leading edge and keep the tube perfectly level.
- Risk of ripping hems: Feed in sections and don’t force it.
- Gas strut extending the arms unexpectedly: Zip tie the arms before moving them.
- Rivet holes don’t match: Slightly widen holes so rivets fit snug.
Final Thoughts
Replacing RV awning fabric may look intimidating, but once you break it down step by step, it’s very manageable.
If this guide helped you out, consider checking out more RV maintenance and DIY repair tutorials—you’d be surprised how many fixes are well within reach with the right guidance.