
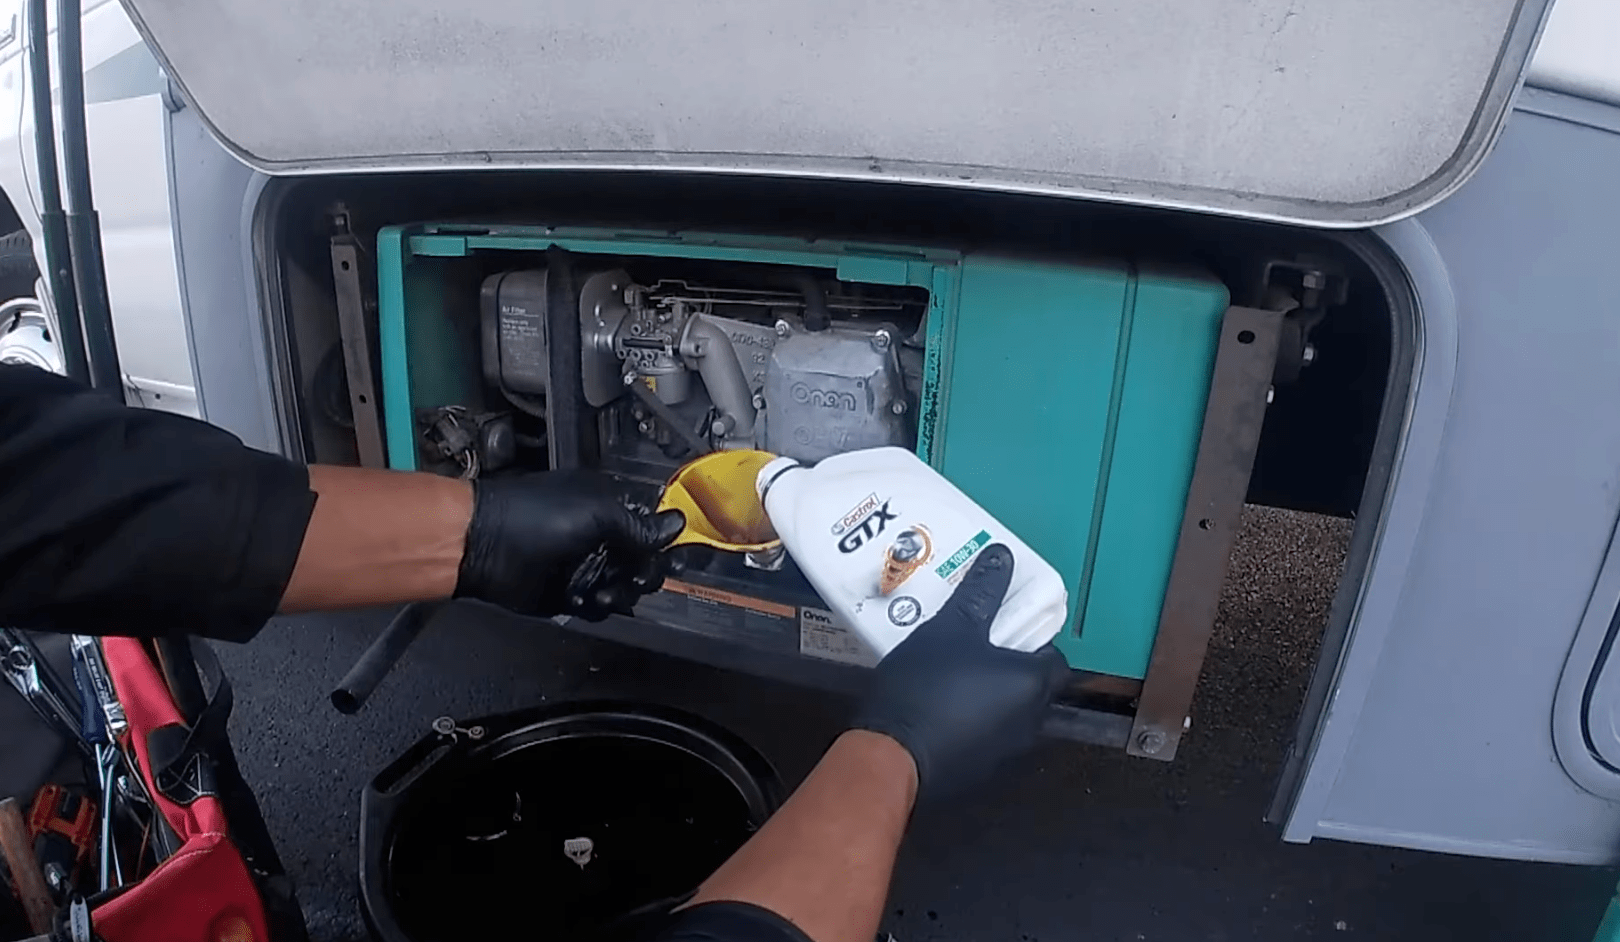
The Cummins Onan 4000 generator is built tough, but like any engine, it needs regular oil changes to keep performing at its best. Doing it yourself is quick, relatively easy, and most importantly saves you money.
In this post, I’ll walk you through the simple steps to change the oil on your Onan 4000 RV generator — plus share a few pro tips to help you avoid common mistakes.
What You’ll Need
- 10W-30 engine oil (you’ll need 1.6 quarts)
- Funnel
- 12 mm socket wrench
- T30 Torx bit
- Oil drain pan
- Clean rags or paper towels
Procedure
1️⃣ Pop off the generator’s front cover to access the dipstick. Check the current oil level — it’s best to do this when the generator is warm for an accurate reading.
2️⃣ Underneath the generator, you’ll see two Torx screws I the dust cover. Loosen one side, remove the other, and slide the dust cover off. This exposes the oil drain plug.
3️⃣ Use a 12 mm socket to remove the drain plug. Be careful not to over-tighten or strip it when reinstalling. Let the oil drain for 10–15 minutes into your oil pan.
4️⃣ Once the oil has fully drained, reinstall the drain plug snugly (don’t over-tighten) and slide the dust cover back into place.
5️⃣ Using your funnel, slowly pour in 1.6 quarts of new oil through the dipstick tube. Be precise — too much or too little can cause the engine to stall or smoke.
Pro Tips
- Warm up the generator for a few minutes before begining— warm oil drains faster and more completely.
- Avoid overfilling. Too much oil will cause pressure buildup and performance issues.
- Change oil every 100 hours or annually, whichever comes first.
- Consider keeping an extra quart of oil in your RV for emergencies.
Why Regular Oil Changes Matter
Changing your generator’s oil regularly keeps your engine clean and free of metal fragments. Fresh oil means smoother performance, quieter operation, and fewer breakdowns during your camping trips.